
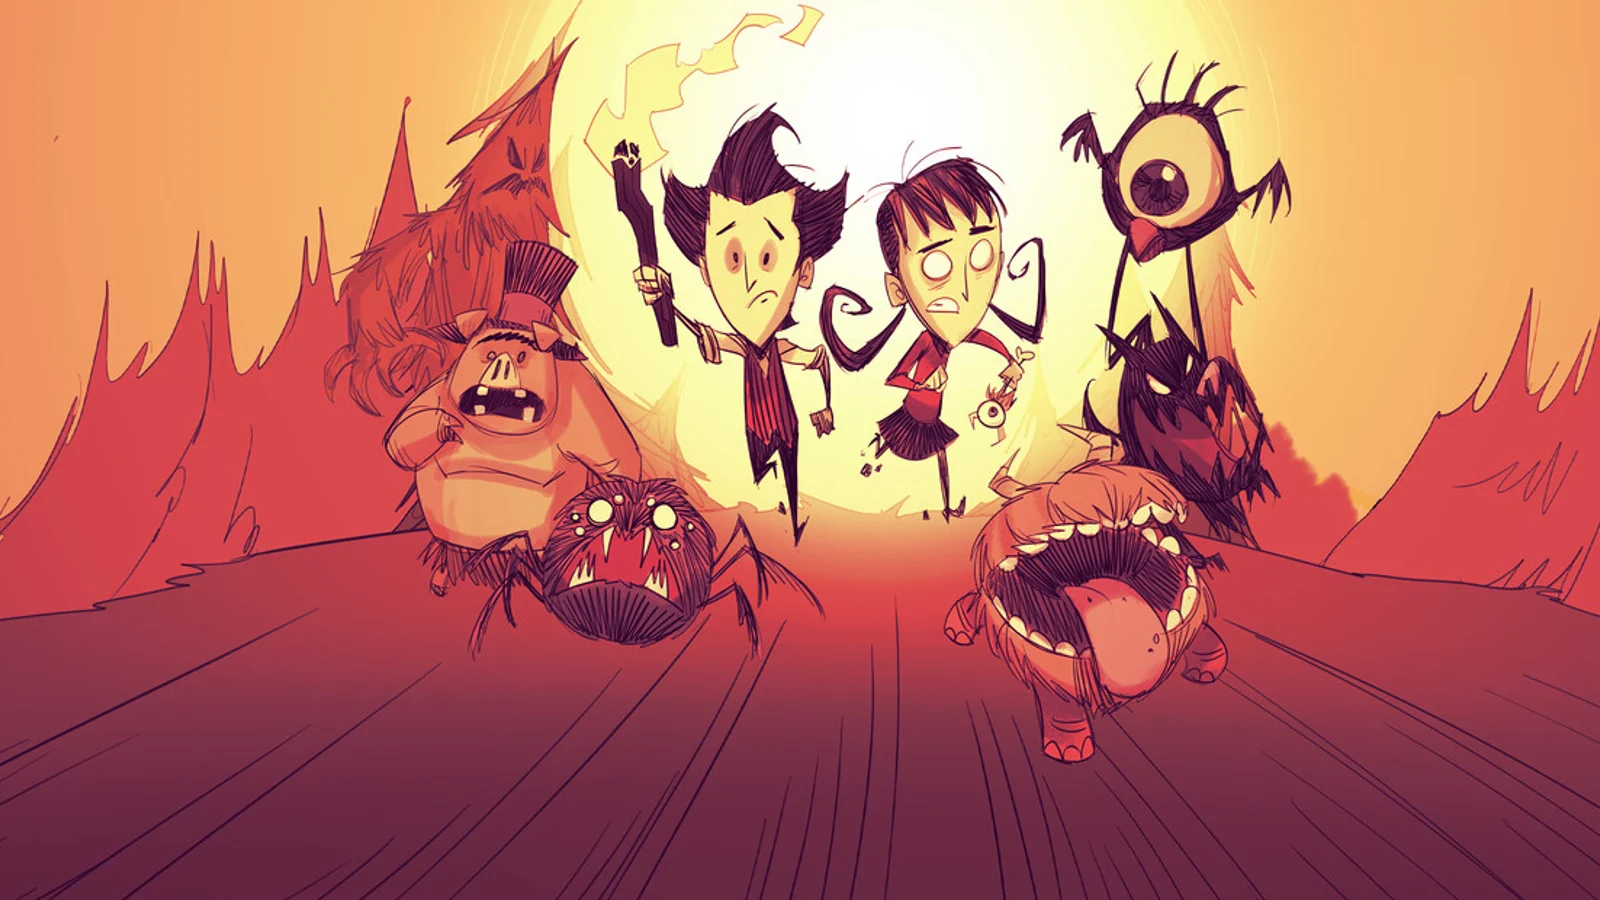


Section Focus
Turn racks, farms, bee boxes, bird cages, and sanity recovery into a long-term supply system.
Recommended Order
| Order | Page | Problem It Solves |
|---|---|---|
| 1 | Don’t Starve Together Drying Rack or Farm First | decide whether early meat stability or farm setup matters more first |
| 2 | Don’t Starve Together Bee Box or Bird Cage | choose the more urgent food chain instead of building both at once |
| 3 | Don’t Starve Together Sanity Recovery Loop | clean up the sanity recovery order around darkness, garlands, mushrooms, and recovery spots |
| 4 | Don’t Starve Together Hunger vs Healing Food | separate healing food from hunger food instead of cooking one vague batch for everything |
How To Use This Hub
Work through the current blocker inside this cluster first, then keep following the same problem lane; it is clearer than bouncing back to the homepage.
Best Next Clicks
- Finish the first two or three pages inside this cluster before jumping to a different topic.
- If motion, timing, or layout is still unclear, pair it with the matching video guide next.